LCD Weighing Indicator Calibration Operating Guide
Daicy 2024-10-31 19:12:11
1. Introduction
The LCD weighing indicator is a high-precision weighing device widely used in industrial, commercial, and laboratory settings. This guide provides detailed instructions to help you operate and maintain the indicator correctly.
2. Weighing Procedure
Prepare for Weighing:
- Place the indicator on a stable surface, ensuring the surrounding area is free from vibrations.
- Ensure the indicator is fully charged or connected to a power source.
3.Calibration
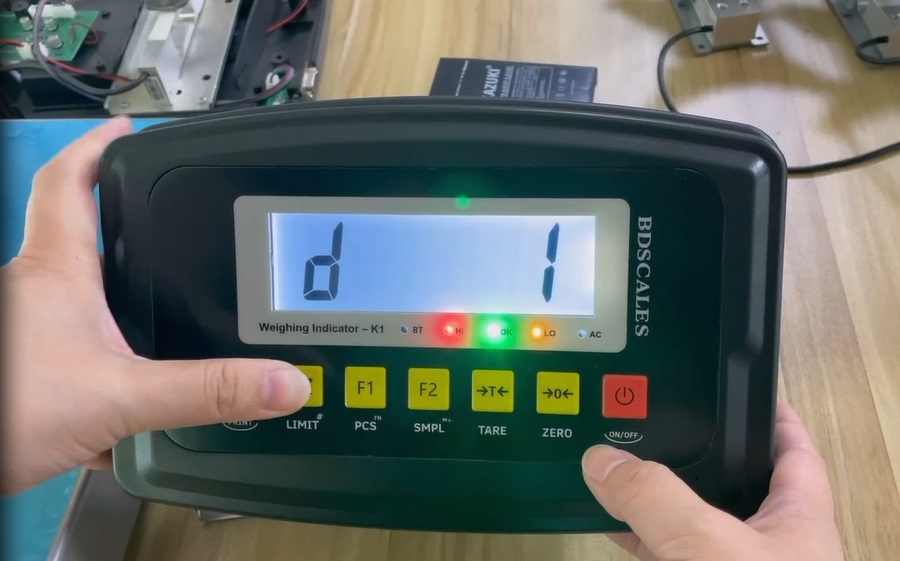
Long press【LIMIT】button at the same time when the number is counted after turn on, and the indicator will enter the calibration state, if [d X] is displayed, please follow the steps below:

1. Division value setting:
Display【d X】press【TARE】button to choose 1, 2, 5, 10, 20, 50, press【LIMIT】button to confirm and enter the next parameter setting automatically.
For example, when【d 5】is displayed, press the【LIMIT】button to set the division value to 5, and automatically enter the decimal point setting state.

2. Decimal point setting:
Display【P 0】 press【TARE】button to choose 0, 1, 2, 3, 4 decimals, press【LIMIT】button to confirm and enter the next parameter setting automatically.
For example, when [P 0.00] is displayed, press the【LIMIT】button to set the decimal point to 0.00, and it will automatically enter the maximum weighing setting state.

3. Maximum weighing setting:
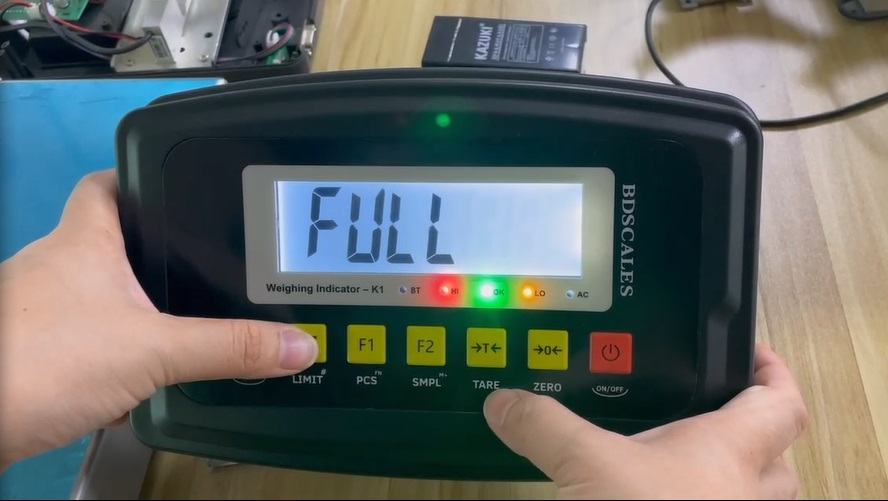
Display【FULL】 press【TARE】button to enter digital input state.
Display【0 0 0 0 0 0】press【TARE】button to move and choose the digit input position, press the【Zero】button to increase the corresponding digi, until the desired digit appears, follow the same operation for different digits until the maximum weighing value is selected, press the【LIMIT】 button to confirm, and automatically enter the next parameter setting.
For example,【0 2 5 0 0 0】it displayed and press【LIMIT】button to confirm, and it will automatically enter the zero calibration setting state.
4. Zero calibration setting:
Display【nOLOAD】, there is no weighing item on the weighing platform, wait until the stability symbol-O appears in the upper left corner, press the【LIMIT】button to complete the zero calibration setting and automatically enter the full-scale calibration setting state.
5. Full scale calibration setting:
Display 【AdLOAD】 place calibration weights on the weighing platform, press【TARE】button to enter the input state(Input the gram of calibration weights).
Display【0 0 0 0 0 0】 press【TARE】button to move and choose the digit input position, press【ZERO】button to increasse the corresponding digit until the desired digit appears, operate the same for different digits until the displayed number is equal to the gram of calibration weights.
Press the【LIMIT】button to confirm and remove the calibration weight, then finished the full scale calibration setting, automatically return to the weighing state.
For further assistance or technical support, please feel free to contact our customer service team. We are here to help!


